
What is CARLA?
CARLA (Car Learning to Act) is an open-source simulator for autonomous driving research. It provides:
- High-fidelity 3D environments — realistic urban scenes with traffic, weather, and lighting
- Python API — programmatic control of vehicles, sensors, and environment
- Sensor simulation — cameras, LiDAR, radar, GNSS
- Traffic simulation — realistic NPC behavior and interactions
- Reproducible experiments — deterministic simulation for research
This guide covers the binary installation (recommended for most users). If you need to build from source, see the CARLA GitHub repository.
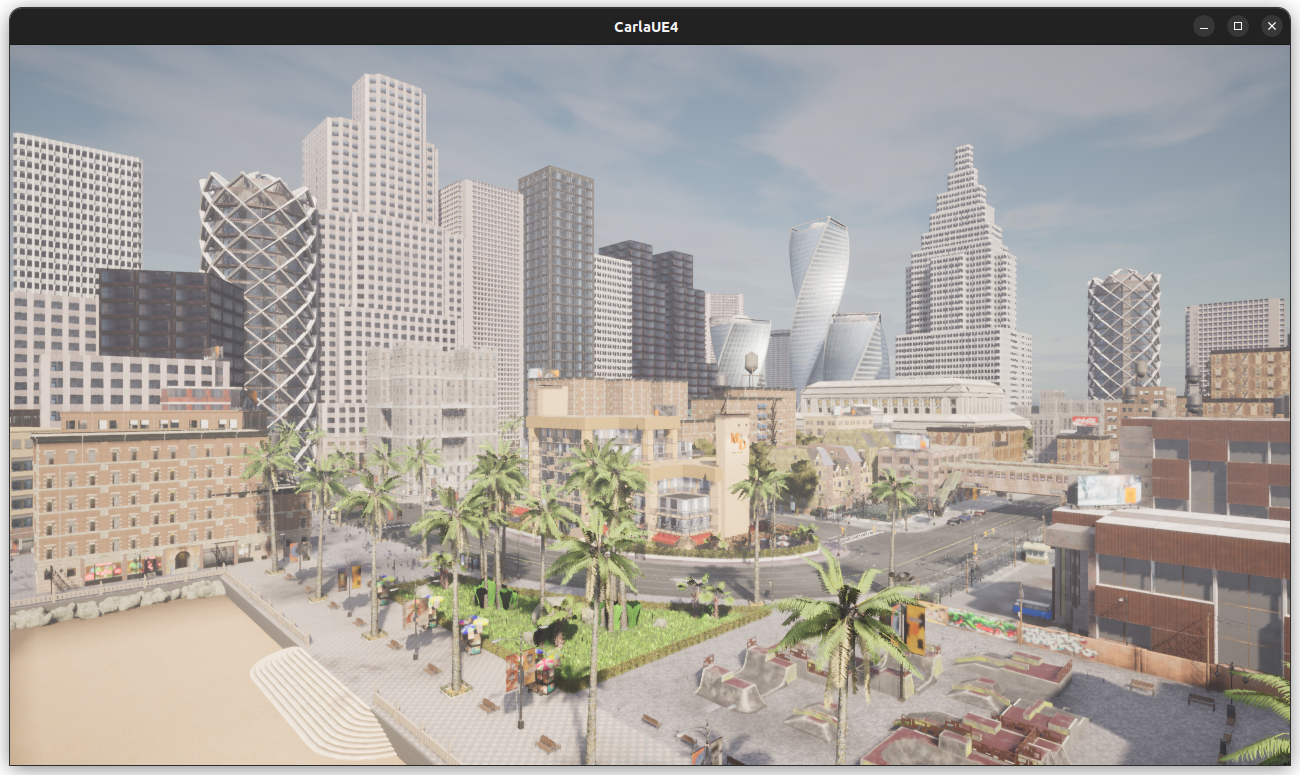 CARLA 0.9.16 rendering a realistic urban environment with traffic and dynamic weather.
System Requirements
Minimum:
- Ubuntu 22.04 LTS
- 8 GB RAM
- 20 GB free disk space
- GPU: NVIDIA (GeForce GTX 1080 or better)
Recommended:
- 16+ GB RAM
- 50+ GB SSD space
- GPU: RTX 2080 Super or better
- CPU: 6+ cores
Note: CARLA can run on CPU, but GPU acceleration is strongly recommended for real-time simulation. CPU-only consume significant resources.
Step 1: Install NVIDIA Driver and CUDA Toolkit
CARLA requires NVIDIA drivers and CUDA for GPU acceleration. This is a critical step that often trips people up.
Detailed guide: See How I Set Up NVIDIA Driver and CUDA on My RTX 5070 Ti: A Real Setup Guide for a comprehensive, step-by-step walkthrough. That guide covers driver selection, CUDA compatibility matrices, environment setup, and common pitfalls. Recommended reading before proceeding.
Step 2: Download and Install CARLA 0.9.16
2.1 Download Binary Release
CARLA binaries are large (~8 GB). Choose a location with sufficient space. Download from the official CARLA 0.9.16 release page.
# Create a directory for CARLA
mkdir -p ~/carla-sim
cd ~/carla-sim

# Download CARLA 0.9.16
wget https://github.com/carla-simulator/carla/releases/download/0.9.16/CARLA_0.9.16.tar.gz

# Download additional maps (optional but recommended)
wget https://github.com/carla-simulator/carla/releases/download/0.9.16/AdditionalMaps_0.9.16.tar.gz
Download size: CARLA_0.9.16.tar.gz ~8 GB, AdditionalMaps ~14 GB. Total time: 30-60 minutes depending on internet speed.
2.2 Extract and Verify
# Extract main CARLA archive
tar -xzf CARLA_0.9.16.tar.gz

# Extract additional maps (optional)
tar -xzf AdditionalMaps_0.9.16.tar.gz

# Verify extraction
ls -la
# You should see: CarlaUE4.sh, PythonAPI, Import/ (if maps extracted), etc.

# Clean up tar files to save space
rm CARLA_0.9.16.tar.gz AdditionalMaps_0.9.16.tar.gz
2.3 Install Additional Maps
If you extracted AdditionalMaps_0.9.16.tar.gz, import the maps:
# The additional maps are in the Import/ directory
# The CARLA server will automatically import them on first launch

cd ~/carla-sim
./CarlaUE4.sh  # First run imports the maps (takes 5-10 minutes)
Available maps after import:
- Town01 - Town02 (default, included in main package)
- Town03 - Town15 (from AdditionalMaps package)
2.4 Make Launch Script Executable
chmod +x ~/carla-sim/CarlaUE4.shStep 3: Setup Python Environment
Create a virtual environment and install dependencies:
# Navigate to CARLA directory
cd ~/carla-sim

# Create virtual environment
python3 -m venv carla-venv

# Activate virtual environment
source carla-venv/bin/activate

# Upgrade pip
pip install --upgrade pip

# Install required dependencies
pip install numpy Pillow pygame psutil
Virtual environment: Recommended to isolate CARLA dependencies from your system Python. All subsequent
pip installcommands should be run inside this environment (withsource carla-venv/bin/activate).
Step 4: Setup Python API
The Python API allows you to control CARLA via scripts.
4.1 Install CARLA Python Package
# Make sure virtual environment is active
source ~/carla-sim/carla-venv/bin/activate

# Navigate to PythonAPI directory
cd ~/carla-sim/PythonAPI

# Build and install the egg package
pip install -e .

# Or if the above fails, use:
python setup.py develop
4.2 Test Python API Import
# Make sure virtual environment is active
source ~/carla-sim/carla-venv/bin/activate

python -c "import carla; print(f'CARLA {carla.__version__} loaded successfully')"
Expected output:
4.26.2-0+++UE4+Release-4.26 522 0
Disabling core dumps.
If you get an import error, verify:
- CUDA libraries are in
LD_LIBRARY_PATH - Python version is 3.7 or higher
- pip installed the package (check
pip list | grep carla)
Step 5: Launch CARLA
5.1 Start the CARLA Server
Open a terminal and run:
cd ~/carla-sim
./CarlaUE4.sh -world-port=2000 -quality-level=Epic
Parameters explained:
-world-port=2000— Use port 2000 (default is 2000)-quality-level=Epic— High graphics quality (useLoworMediumfor slower hardware)-headless— Run without display (for remote servers)-fps=30— Set simulation FPS (default 20)-resx=1280 -resy=720— Window resolution
First launch takes 5-10 minutes (imports additional maps if extracted). You should see:
LogCarlaServer: Welcome to CARLA 0.9.16
LogCarlaServer: Server listening on port 2000
5.2 Test Connection in New Terminal
Keep the server running. Open a new terminal:
cd ~/carla-sim

# Activate virtual environment
source carla-venv/bin/activate

# Test connection
python -c "import carla; client = carla.Client('localhost', 2000); print(f'Connected to CARLA {client.get_server_version()}')"
Expected output:
Connected to CARLA 0.9.16
Step 6: Verify Installation with Example Script
Create a simple script to spawn a vehicle:
# test_carla.py
import carla
import time

def main():
    # Connect to CARLA
    client = carla.Client('localhost', 2000)
    client.set_timeout(10.0)

    # Get world
    world = client.get_world()

    # Get spawn points
    spawn_points = world.get_map().get_spawn_points()

    # Blueprint library
    bp_lib = world.get_blueprint_library()
    vehicle_bp = bp_lib.find('vehicle.tesla.model3')

    # Spawn vehicle
    vehicle = world.spawn_actor(vehicle_bp, spawn_points[0])
    print(f"Spawned vehicle at {spawn_points[0].location}")

    # Apply control (move forward)
    control = carla.VehicleControl()
    control.throttle = 0.5
    vehicle.apply_control(control)

    # Wait
    time.sleep(5)

    # Cleanup
    vehicle.destroy()
    print("Vehicle destroyed")

if __name__ == '__main__':
    main()
Run the test:
# Activate virtual environment
source ~/carla-sim/carla-venv/bin/activate

python test_carla.py
You should see the vehicle spawn in the CARLA window and move forward.
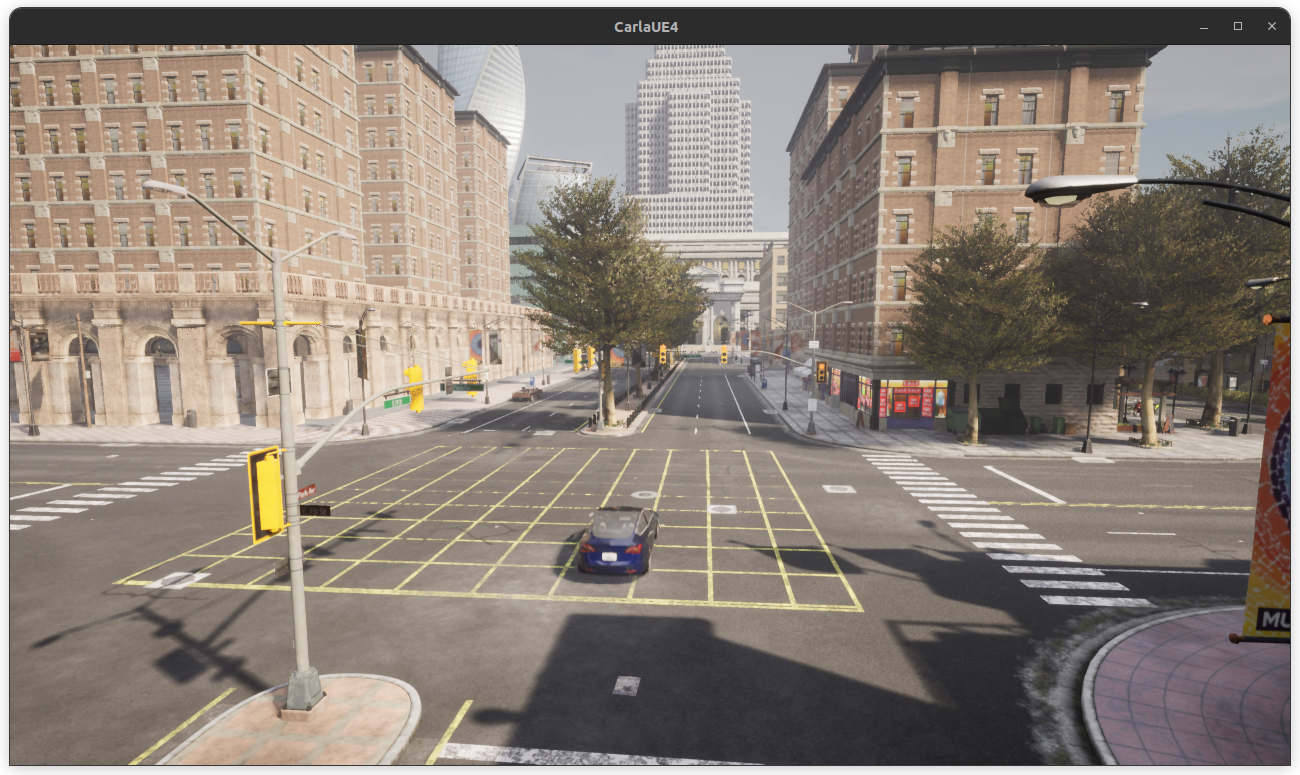 Successful vehicle spawn in CARLA simulator.
Step 7: Explore CARLA Examples
CARLA ships with examples. Start the server, then in a new terminal:
source ~/carla-sim/carla-venv/bin/activate
cd ~/carla-sim/PythonAPI/examples
Essential examples:
| Example | Purpose |
|---|---|
python tutorial.py | Spawn vehicle with camera + autopilot |
python manual_control.py | Interactive keyboard control (press ‘h’ for help) |
python generate_traffic.py --number 50 | Spawn 50 NPCs with traffic behavior |
python dynamic_weather.py | Control weather conditions |
python synchronous_mode.py | Deterministic mode for ML pipelines |
python automatic_control.py | Autonomous navigation with path planning |
python start_recording.py --file log.log | Record simulation data |
python start_replaying.py --file log.log | Replay recorded data |
For help: python <script>.py --help
Interactive control example:
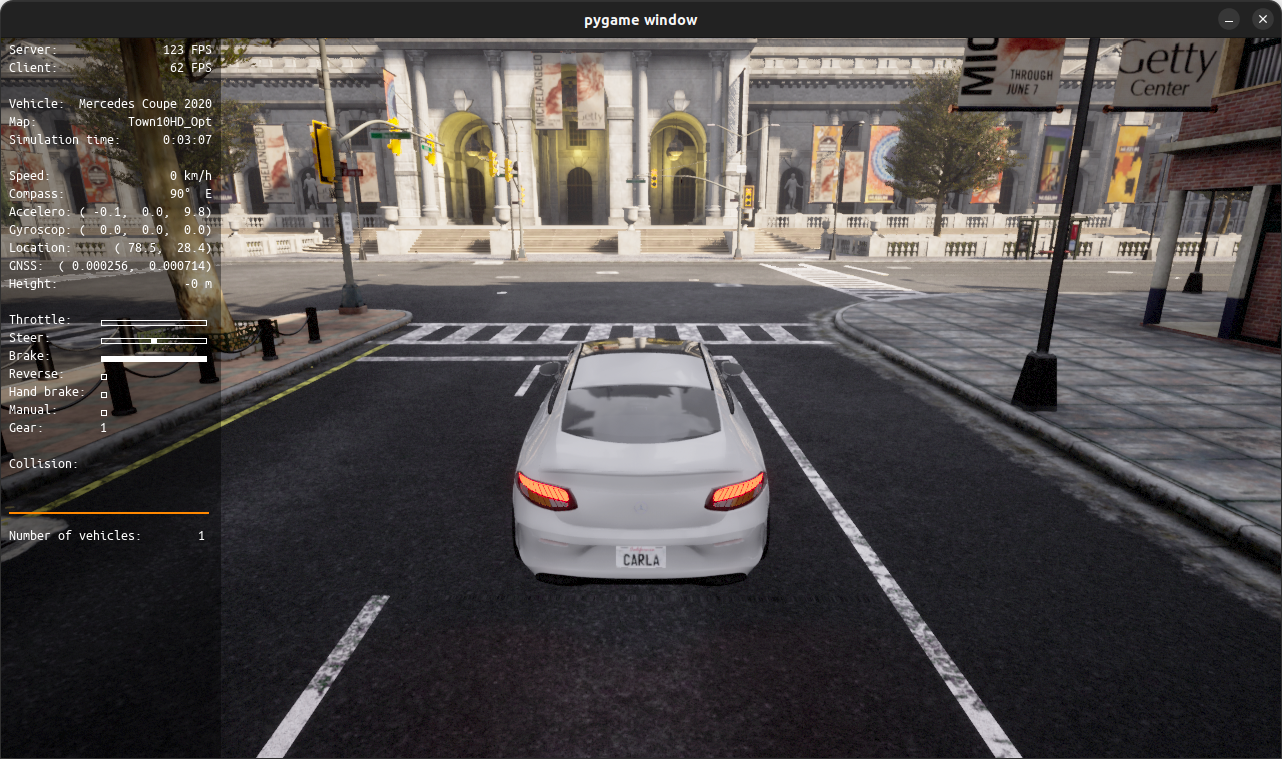 manual_control.py provides an interactive interface with real-time HUD showing vehicle telemetry, camera feeds, and control information.
Step 8: Environment Setup (Optional but Recommended)
Create a convenient startup script:
# ~/.carla_env
#!/bin/bash
export CARLA_HOME=~/carla-sim
export PYTHONPATH=$CARLA_HOME/PythonAPI:$PYTHONPATH
export LD_LIBRARY_PATH=/usr/local/cuda-12.4/lib64:$LD_LIBRARY_PATH

cd $CARLA_HOME
source carla-venv/bin/activate
Source it before each session:
source ~/.carla_env
./CarlaUE4.sh -quality-level=Epic
Step 9: Troubleshooting
Issue 1: “ImportError: No module named ‘carla’”
Cause: Python API not installed or wrong Python version.
Solution:
# Verify Python version
python3 --version  # Should be 3.7+

# Reinstall CARLA Python API
cd ~/carla-sim/PythonAPI
pip3 install -e .

# Or build from source
python3 setup.py develop
Issue 2: “Failed to connect to 127.0.0.1:2000”
Cause: Server not running or port blocked.
Solution:
# Check if server is running
ps aux | grep CarlaUE4

# Check if port 2000 is listening
lsof -i :2000

# Restart server
pkill -f CarlaUE4
cd ~/carla-sim && ./CarlaUE4.sh -quality-level=Epic
Issue 3: Low FPS or Stuttering
Cause: GPU not being used or too many actors.
Solution:
# Use lower quality level
./CarlaUE4.sh -quality-level=Low

# Reduce resolution
./CarlaUE4.sh -quality-level=Epic -resx=1280 -resy=720

# Check GPU utilization
watch -n 1 nvidia-smi
Step 10: Resources and References
Official Documentation
- CARLA Official Website — Project overview and updates
- CARLA GitHub Repository — Source code and releases
- CARLA ReadTheDocs — Full API reference (0.9.16)
- CARLA Python API Docs — Python API reference
- Sensor Simulation Guide — Camera, LiDAR, radar
- Traffic Manager Docs — NPC behavior
- PythonAPI Examples — Runnable examples
Community and Support
- CARLA Discussions (GitHub) — Community Q&A
- CARLA Issues (GitHub) — Bug reports and troubleshooting
- CARLA Tutorial (YouTube) — Step-by-step video walkthrough
Step 11: Next Steps
1. Explore CARLA Examples
cd ~/carla-sim/PythonAPI/examples
python3 spawn_npc.py  # Spawn NPCs
python3 add_sensors.py  # Add camera and LiDAR
python3 manual_control.py  # Manual vehicle control
2. Read Official Documentation
Start with the CARLA Python API Documentation to understand available classes and methods.
3. Run Autonomous Driving Research
# Minimal autonomous agent example
import carla
import time

client = carla.Client('localhost', 2000)
world = client.get_world()

# Spawn vehicle
spawn_point = world.get_map().get_spawn_points()[0]
vehicle = world.spawn_actor(world.get_blueprint_library().find('vehicle.tesla.model3'), spawn_point)

# Add camera
camera_bp = world.get_blueprint_library().find('sensor.camera.rgb')
camera_transform = carla.Transform(carla.Location(x=2.5, z=0.7))
camera = world.spawn_actor(camera_bp, camera_transform, attach_to=vehicle)

# Control loop
for _ in range(100):
    vehicle.apply_control(carla.VehicleControl(throttle=0.5))
    time.sleep(0.05)

vehicle.destroy()
camera.destroy()
Step 12: Key Takeaways
- Binary installation is easiest; build from source only if needed
- Python API is the primary interface for research
- GPU acceleration is critical for real-time simulation
- First launch takes minutes — this is normal
Last updated: November 2026 | Tested on Ubuntu 22.04 with NVIDIA RTX 5070Ti